These Pumpkin Carving Hacks Will Make Your Place the Spookiest House on the Block
Updated March 8 2019, 3:20 p.m. ET

Halloween's just days away, so you'll want to make sure you're dressed to the nines and stocked with all the candy your drugstore's got to offer. But perhaps most importantly, you'll want some pumpkin carving hacks to make your house stand out as the spookiest, most welcoming place in the neighborhood for mini-ghouls and young witch trick-or-treaters.
To achieve the perfect spook-tastic look, only enthusiasm is required. A quick trip to the dollar store will also yield some choice spiderwebs, so your jack-o-lanterns don't have to be lonely on your front yard. Plus, if you have boxes, paint and a marker lying around the house, you can also easily craft a DIY tombstone for your lawn.
But the jack-o-lantern still holds the soft spot when it comes to impressive, satisfying and family-friendly decorations. Nothing screams Halloween quite like a big old carved pumpkin radiating candlelight. In fact, the ritual of carving pumpkins to ward off evil spirits dates all the way back to the Irish, who brought the tradition to America. Fun fact: Since there weren't any pumpkins in Ireland, they carved turnips on All Hallow's Eve instead.
So, how exactly can you keep the pumpkin process from being a harrowing, messy chore and turn it into fun for the whole family? Read on for 6 pumpkin carving tips that will save you a bunch of headaches and earn you tons of brownie points this year.
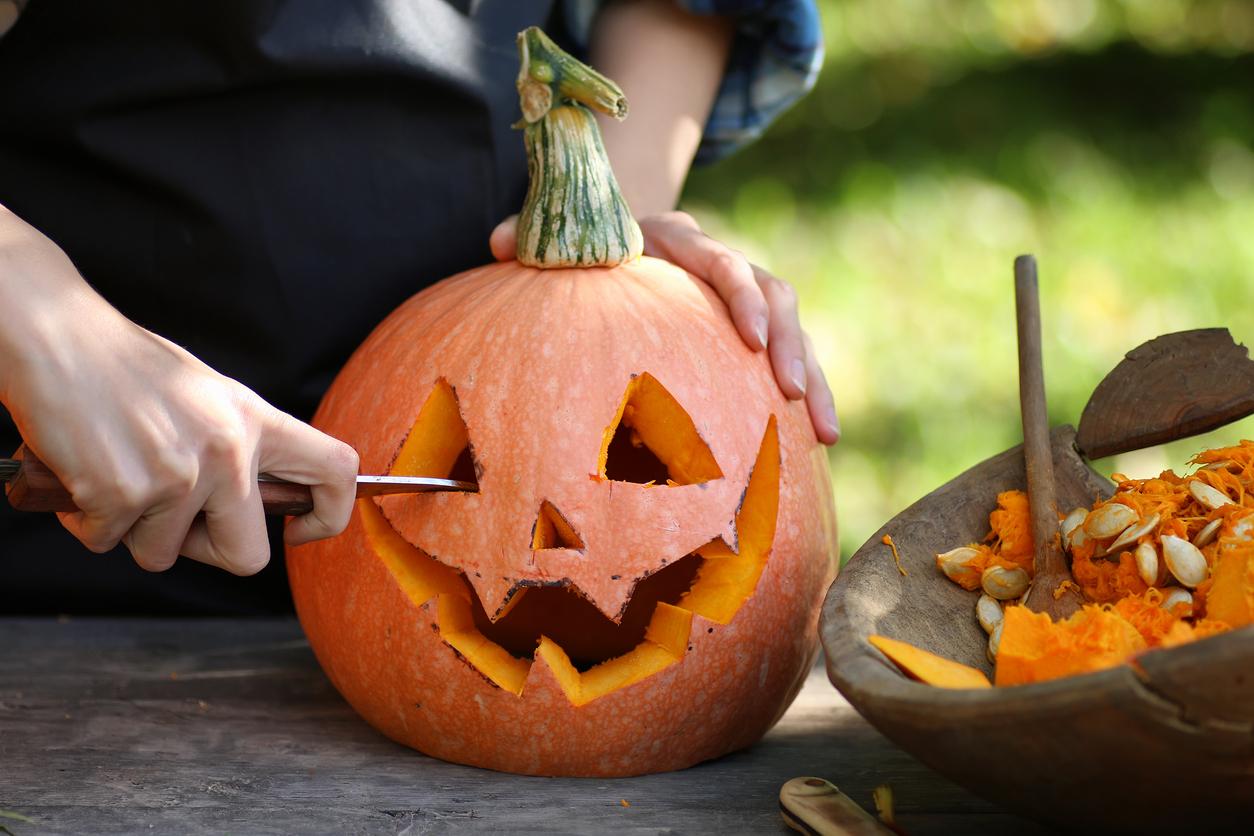
1. Start by cutting off the top.
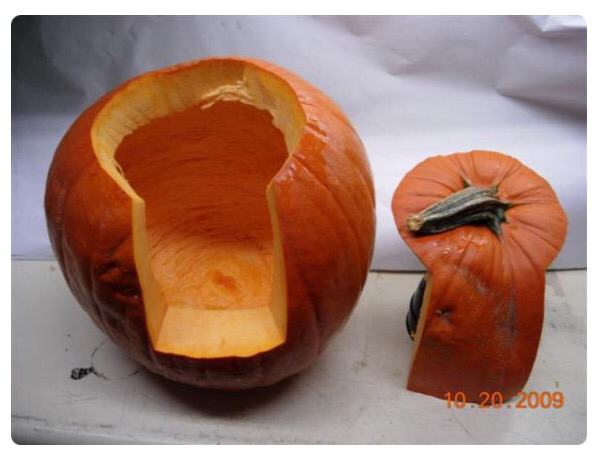
Sure, "convention" has everyone cutting off the bottoms of their pumpkins, but this start to carving is actually much more effective. For one, it's much easier to scoop out the pumpkin's insides (my least favorite part of the process) with this generous hole cut out of the back.
Also, it gives you a neater canvas to carve, which makes the whole process easier to navigate. And perhaps most importantly, if you want to put a candle in your pumpkin once it's been carved, you won't have to reach inside from the top and risk burning your hand.
2. Pick the right tools.
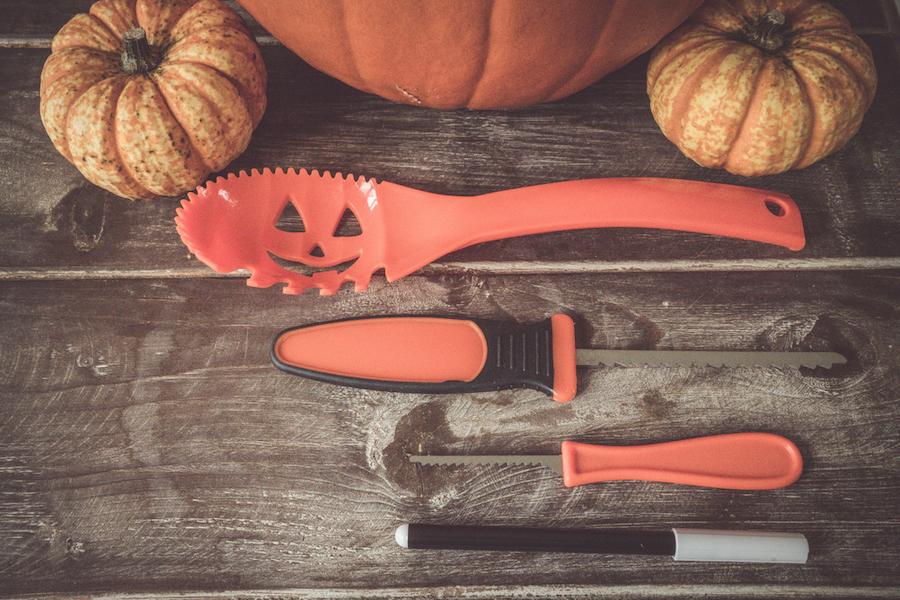
Most store-bought DIY pumpkin kits come with knives, pokers and scraper spoons. And while those work fine, there are free things you might have lying around the house that will actually yield better design results.
For example, people swear by drywall (otherwise known as keyhole) saws, and claim they're better than kitchen knives at carving a lot of pumpkins in a short amount of time.
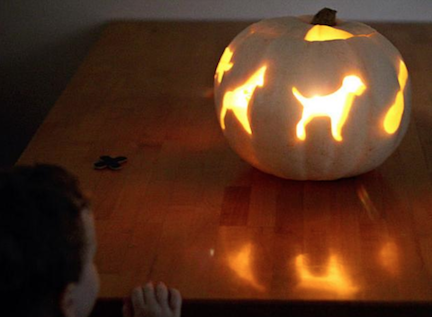
Family Handy Man also shared some of the most effective power tools to employ in your carving adventures. Hole saws, drills and rotary tools can give your jack-o-lantern perfectly round eyes, as well as some other creative designs, like these:
Sanders, when used carefully, can also help remove pumpkin skin, which allows you to show off elaborate designs that rely on gradients or different amounts of candle glow. And if you're into going all out with your artistry, ribbon tools used for pottery work remarkably well for intricate pumpkin designs.
3. Cookie cutters for kids — all the way.
If you're carving with a group of kids, you might not want to have a display of sharp knives lying around the crafting station. Plus, tracing and carving out a handful of children's drawings might not be your idea of a perfect weekend afternoon.
You won't even have to leave your house for this incredible pumpkin carving hack, which shows how easy it is to make an impressive jack-o-lantern with the cookie cutters you already have in your kitchen.
All you need is to pick your favorite shape, hammer it into the pumpkin with a rubber mallet (or any other heavy object lying around the kitchen), and have a backup knife handy to completely cut through the shape. Your kids will be left with the most impressive pumpkin on the block, and the projections of the carvings on the wall (if you keep you pumpkins inside) are a beautiful added bonus.
4. Get creative with your designs.

One of the trickiest parts when carving pumpkins is getting the idea in our heads to translate into a three-dimensional backlit sculpture. But luckily, there are some great hacks to make the most important part of the carving process headache-free.
First, you don't have to free-draw the design onto your pumpkin directly — but if you want to, you masterful artist, use a dry-erase marker instead of a permanent one, so you can adjust your sketch as you go.
If you're no Michelangelo, print out a two-toned drawing, tape it to the pumpkin, and use a punch tool or a knife to outline it. Also, unless you're super advanced, avoid drawings with islands or skinny parts, as these are trickiest to carve. Working from the middle out helps keep the integrity of the pumpkin so none of it accidentally breaks, and using the ribbon tools we mentioned above can help you create some really cool and detailed effects.
5. Have fun with the process.
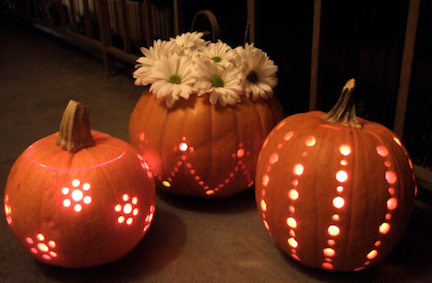
Sure, by this point in the article you've probably become an expert at creating your own classic jack-o-lantern. But why not take this project to an unprecedented level and really turn heads in your neighborhood?
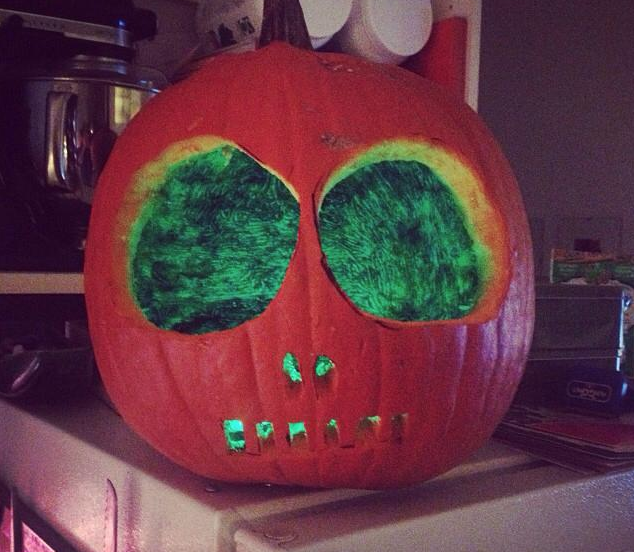
As it turns out, achieving a perfect unique-looking pumpkin isn't as hard as it might appear. To achieve the effect in the photo above, for example, one redditor emptied out the inside of a pumpkin, then mixed food coloring with a half cup of water and swirled it around the inside.
Someone else on the platform recommended soaking a whole toilet paper roll in kerosene overnight for a high flame that can last for close to an hour, and the effects are pretty impressive.
6. Preserve your pumpkin.
The last thing you want after laboring over your pumpkin for hours is to see it mold or rot away in your front lawn before you get to show it off on the big day. Rubbing a layer of petroleum jelly on the inside will actually seal in the moisture of the pumpkin and avoid it from decomposing before Halloween.
Your impressive jack-o-lanterns will speak for themselves this year.