GamingWhat Happened to Ranked Warzone on 'COD'? It's Literally a Skill IssueSkill Rating has given players issues since the release of 'Black Ops 6,' and they hope for a final resolution with this shutdown.
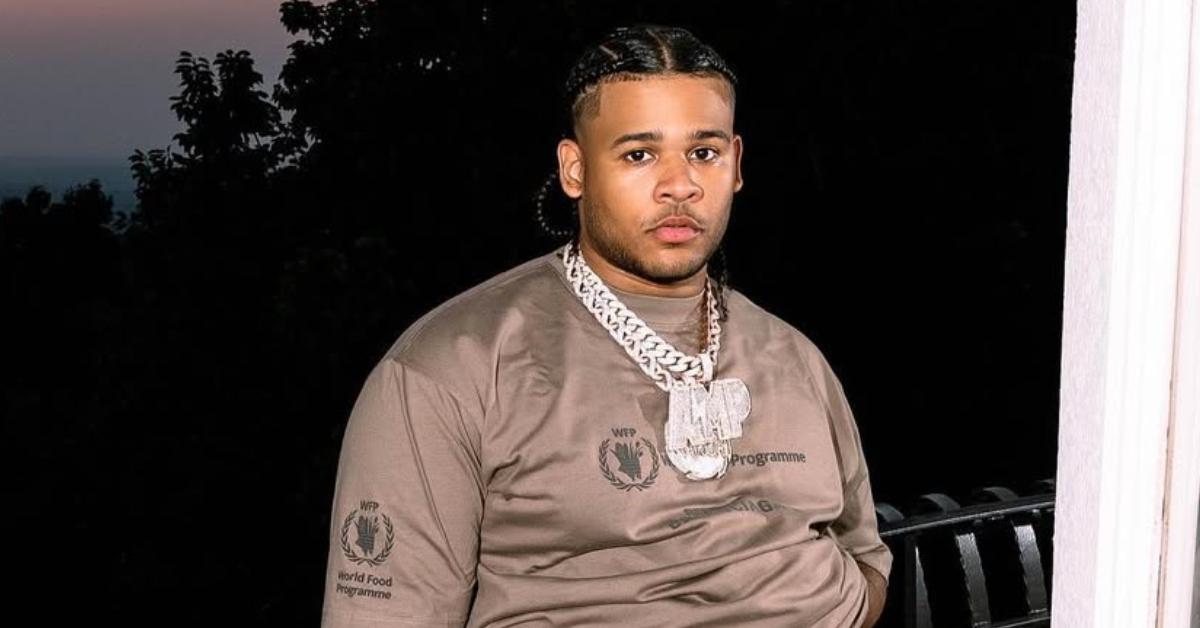
InfluencersFanum Hinted at Leaving AMP: “They Sold Their Soul; They’re Mad I Won’t Do It”"Everything will soon come to light."
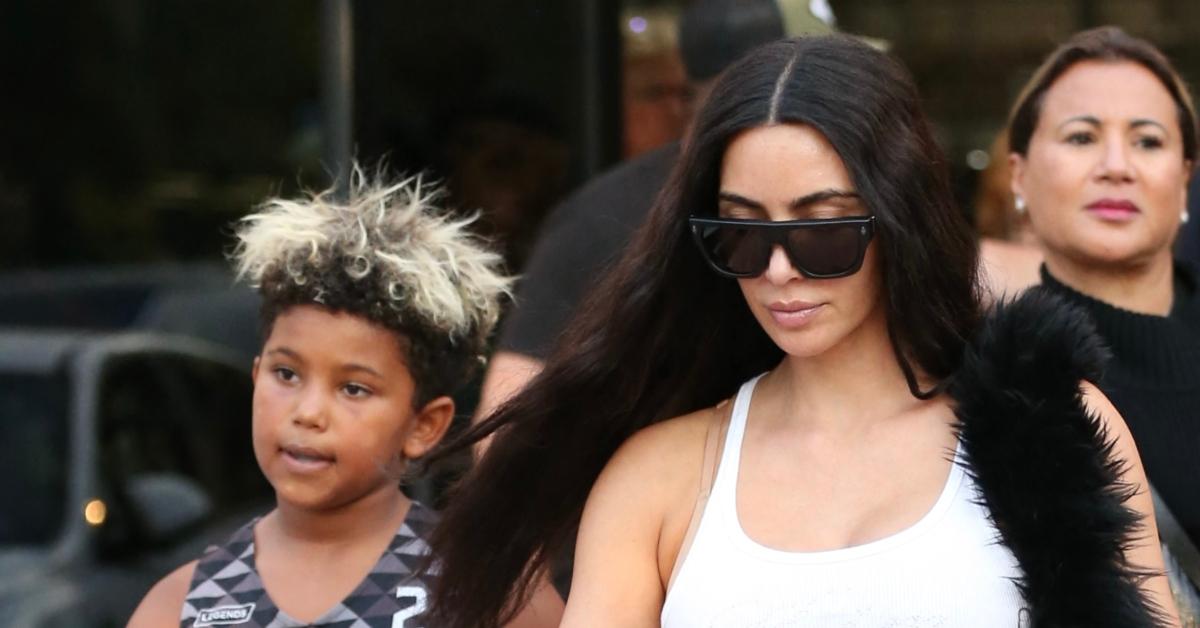
Gaming“Put Mom’s Phone Down” — Saint West Hacks Kim Kardashian’s Phone To Promote Roblox Channel"Kim, we need a stronger passcode babe."
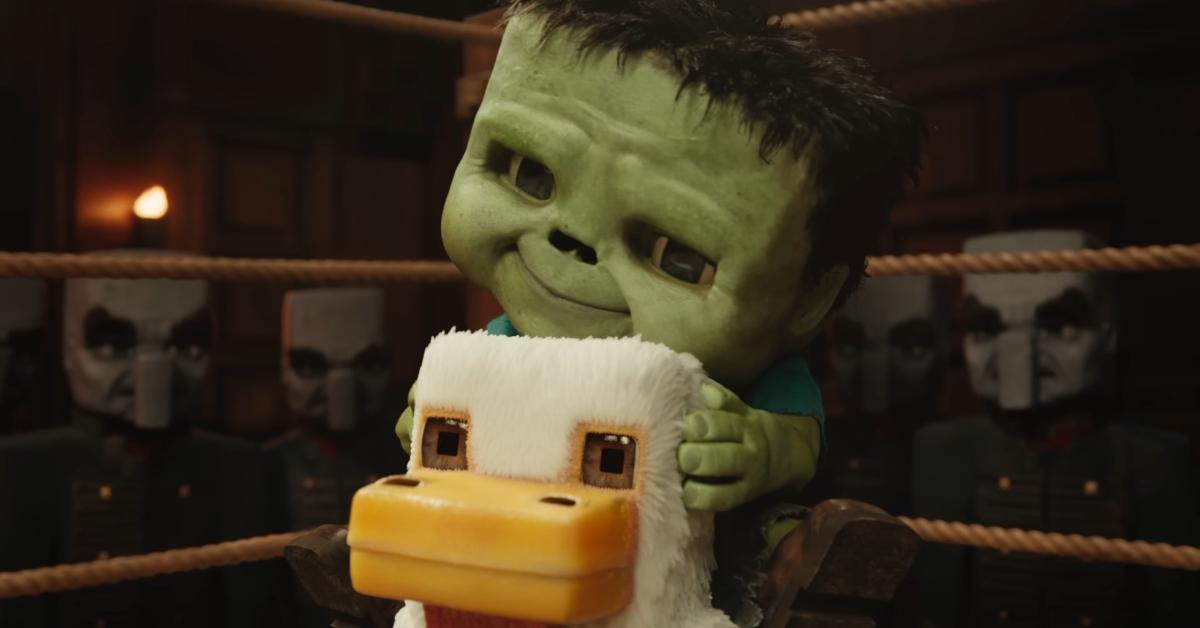
Gaming"Chicken Jockey" Is Everywhere These Days, but What Does the Minecraft Reference Mean?Steve and Garrett find themselves facing down a chicken in the arena. A chicken? A chicken.
Gaming‘The Last of Us’ Video Games Both End in Savage, Morally Ambiguous WaysBrutal is an understatement.
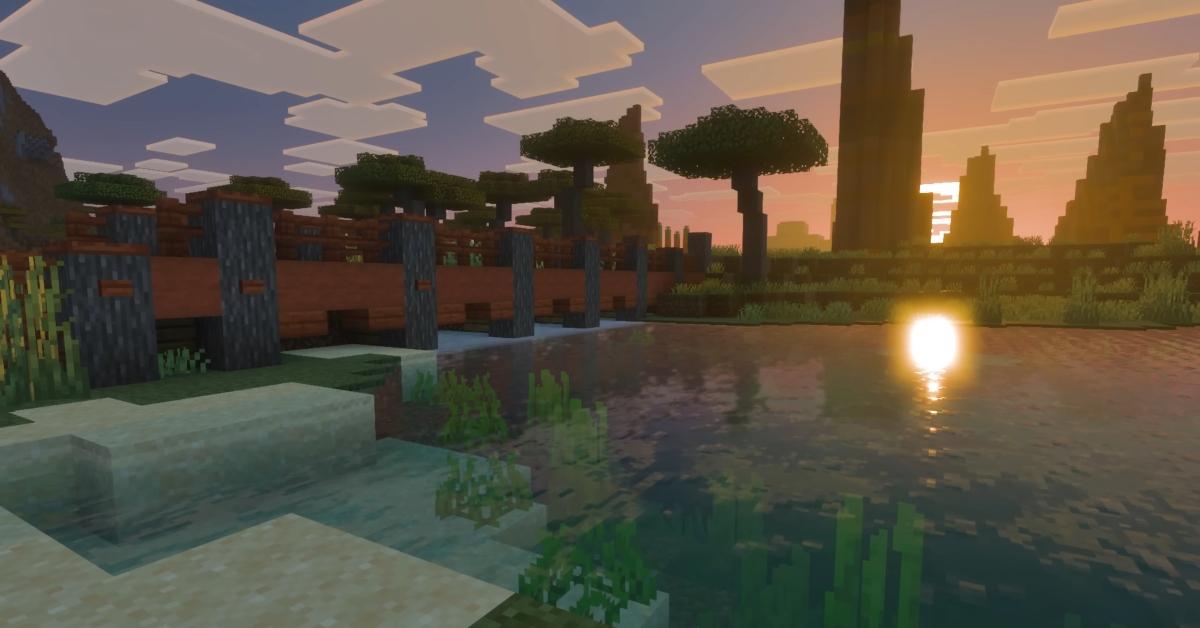
GamingWhen Will Vibrant Visuals Be Released for 'Minecraft' Players to Enjoy? Bedrock users won't be able to lord it over Java users for long. But for now they can, at least for a little while.
GamingSomething's Not Quite Right With Elon Musk's 'Elden Ring' Build"Elon are you ok? Can you hire someone competent to help you make a build because these screenshots are making my head hurt."
MoviesWhen Will the 'Minecraft Movie' Be Streaming? Expected Max Release Date and Rental OptionsWhen will the 'Minecraft Movie' be available for streaming and which streaming platform will it be available on?
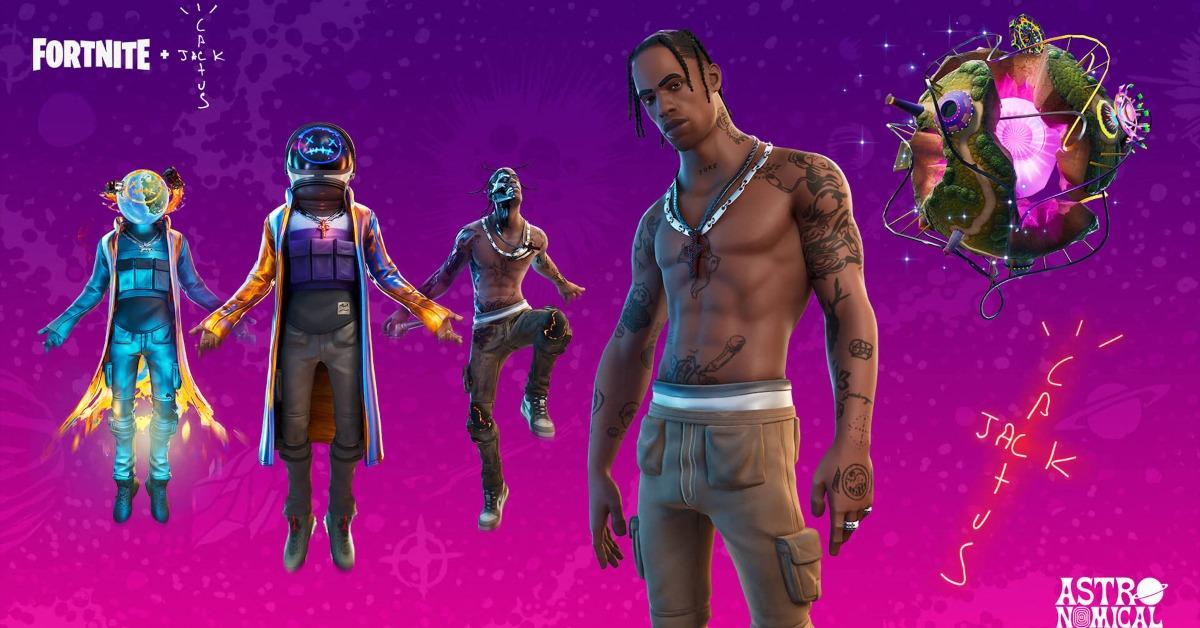
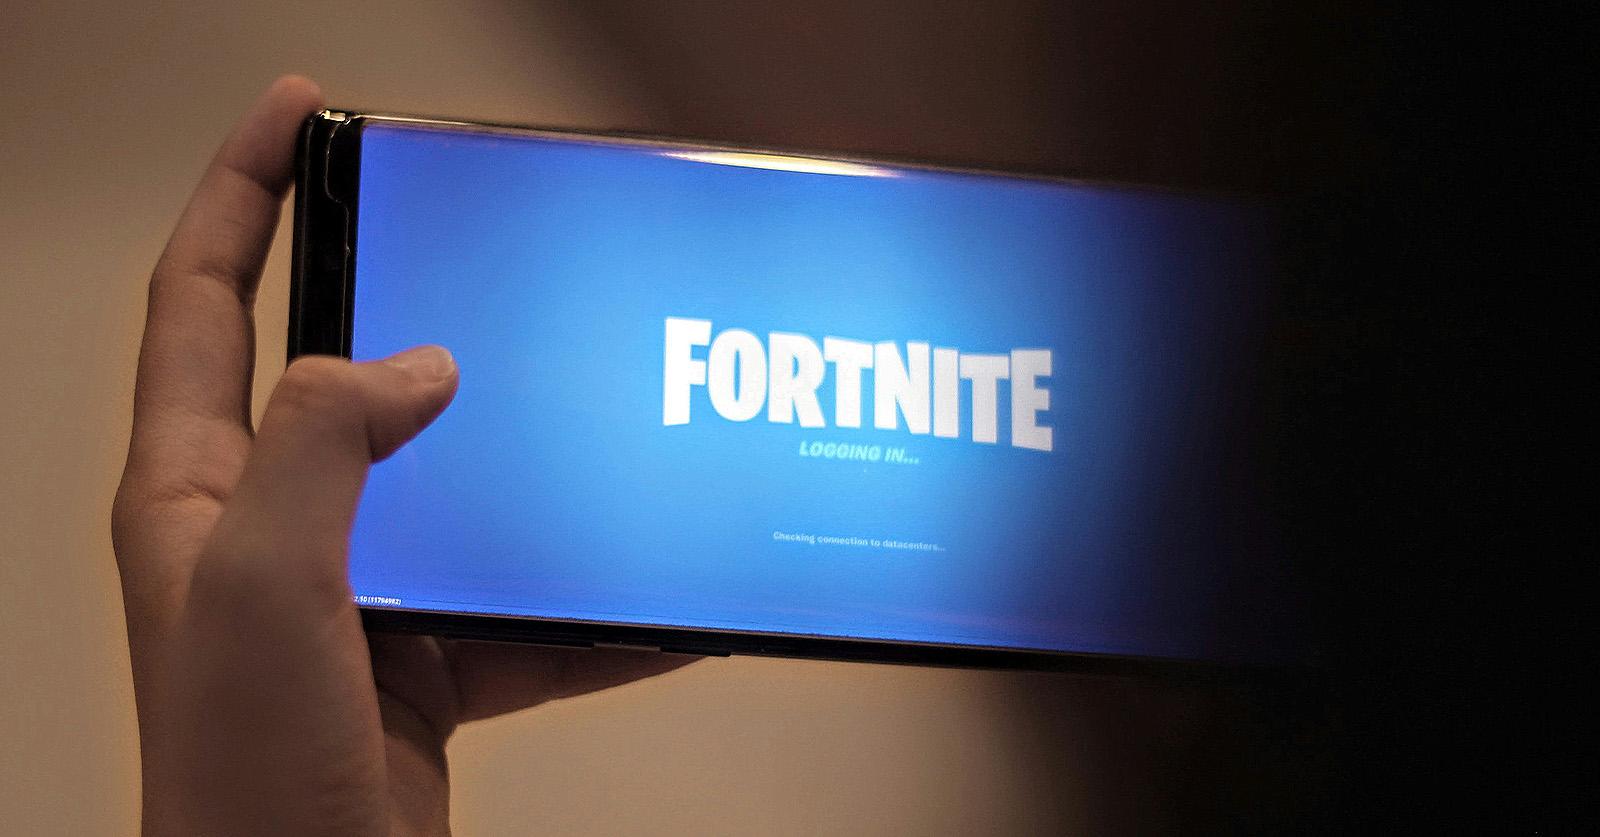
GamingIs Daft Punk Coming to 'Fortnite'? Leaks Suggest Possible Season 9 Festival DebutCould a digital Daft Punk reunion be in the future for 'Fortnite' players?
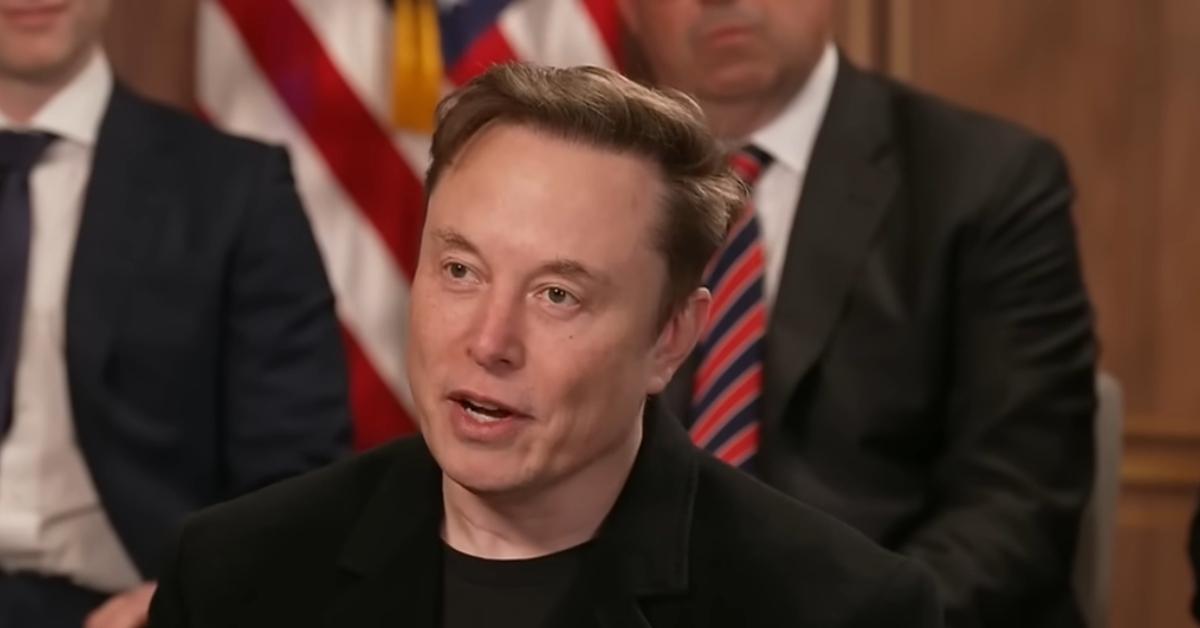
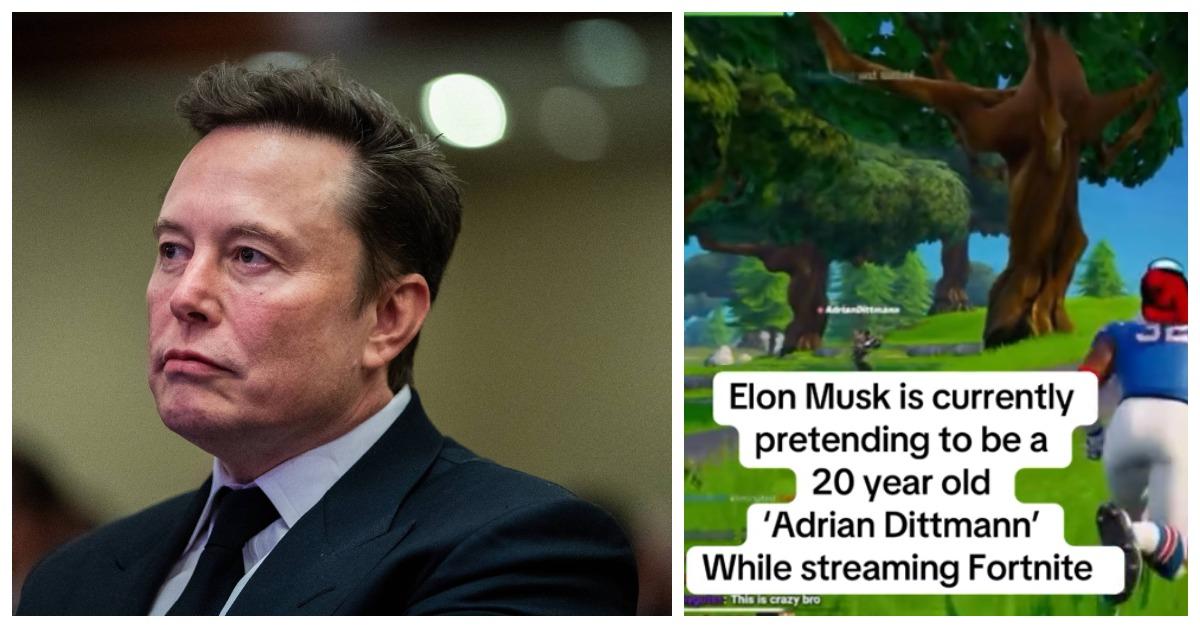
Human InterestElon Musk Went Live While Playing a Game, and His Harshest Critics Were in the ChatElon Musk called out people "spamming the chat."
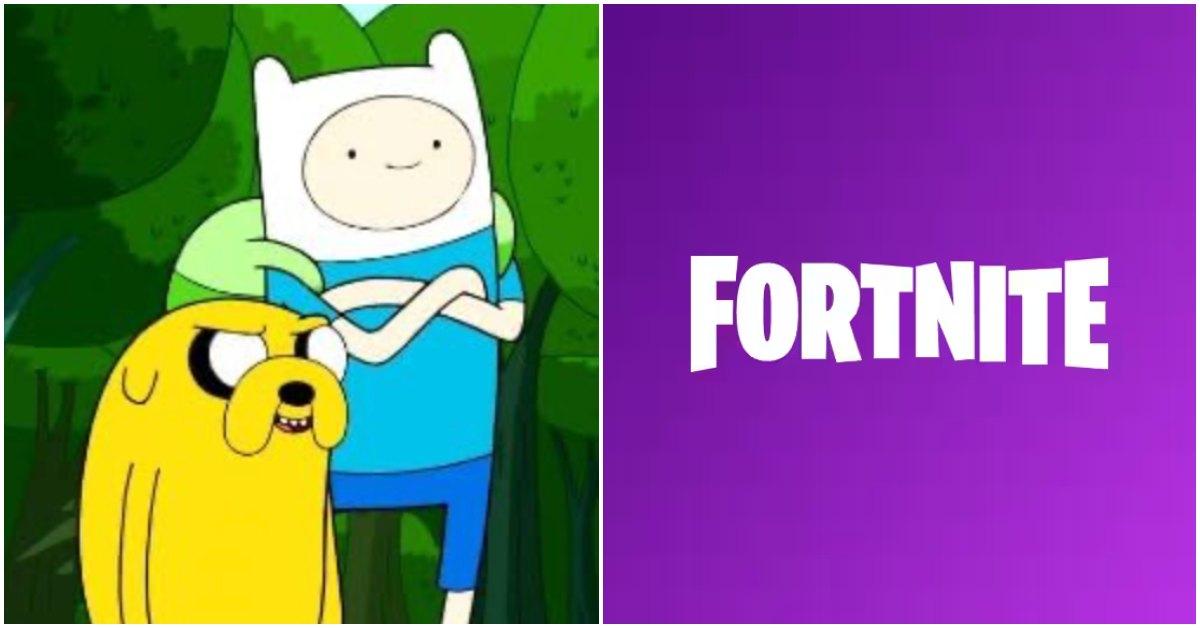
Gaming'Adventure Time' x 'Fortnite' Leaks Hint the Collab Could Be Dropping Very Soon"When you realize it's not April Fool's."
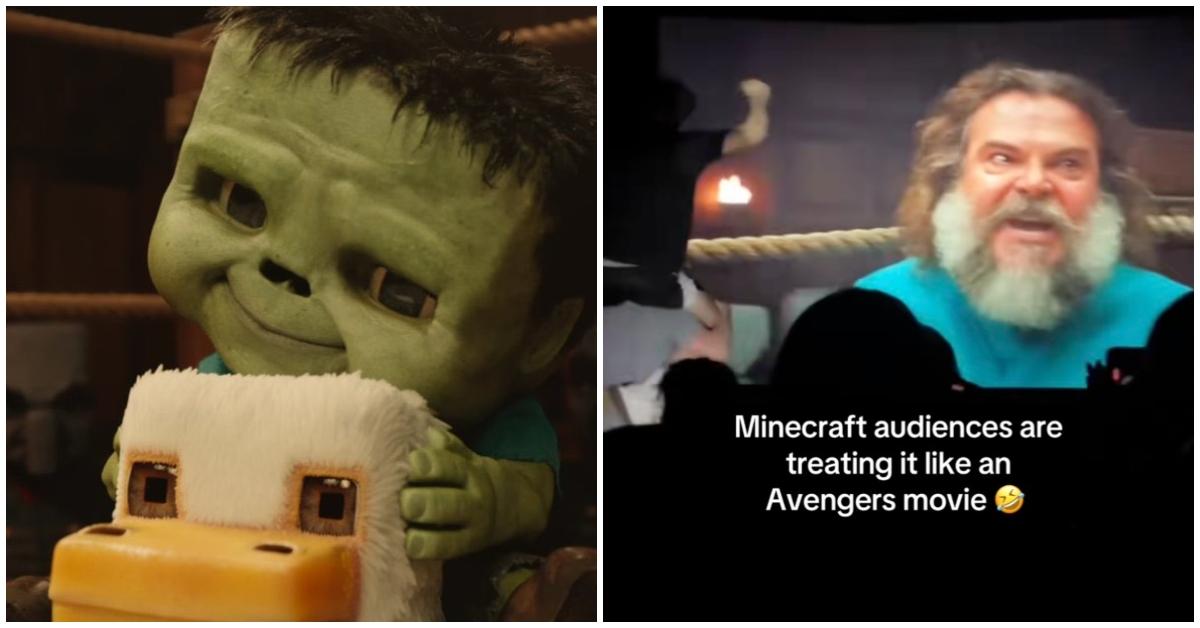
Entertainment‘A Minecraft Movie’s’ Chicken Jockey Scene Trend Has the Internet in a FrenzyThe 'A Minecraft Movie' Chicken Jockey trend was rowdy that some participants have been banned from movie theaters.
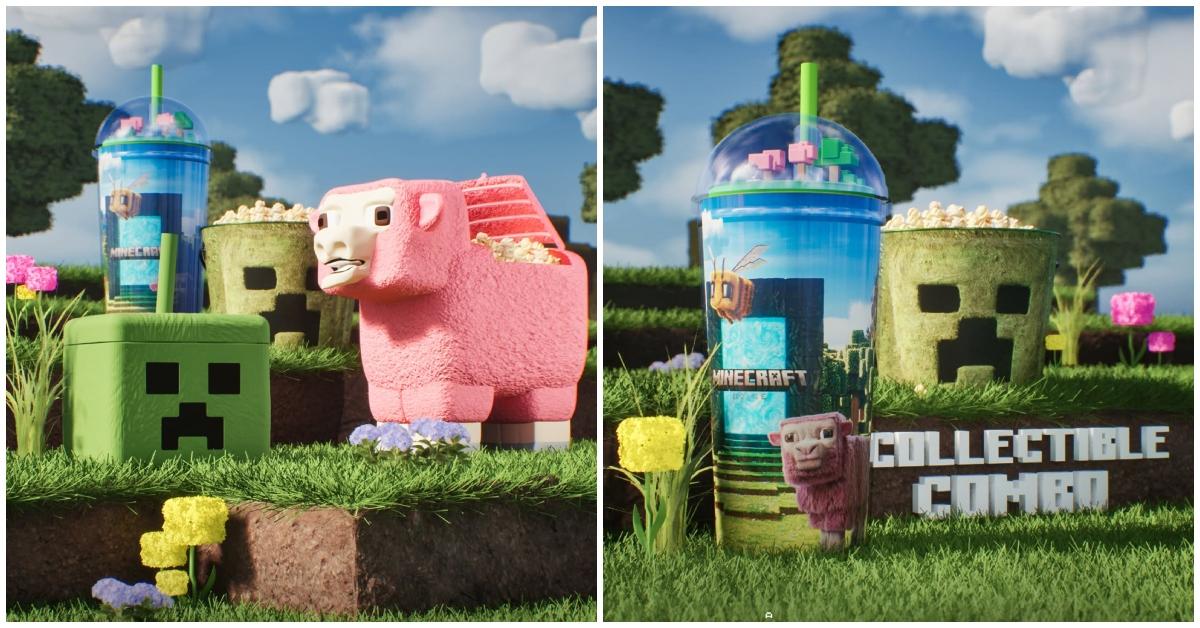
MoviesHow To Get a ‘Minecraft’ Popcorn Buckets Inspired by the Game’s Classic CharactersZombie, Pickaxe, and Creeper are among some of the characters reimagined in the 'Minecraft' popcorn buckets.
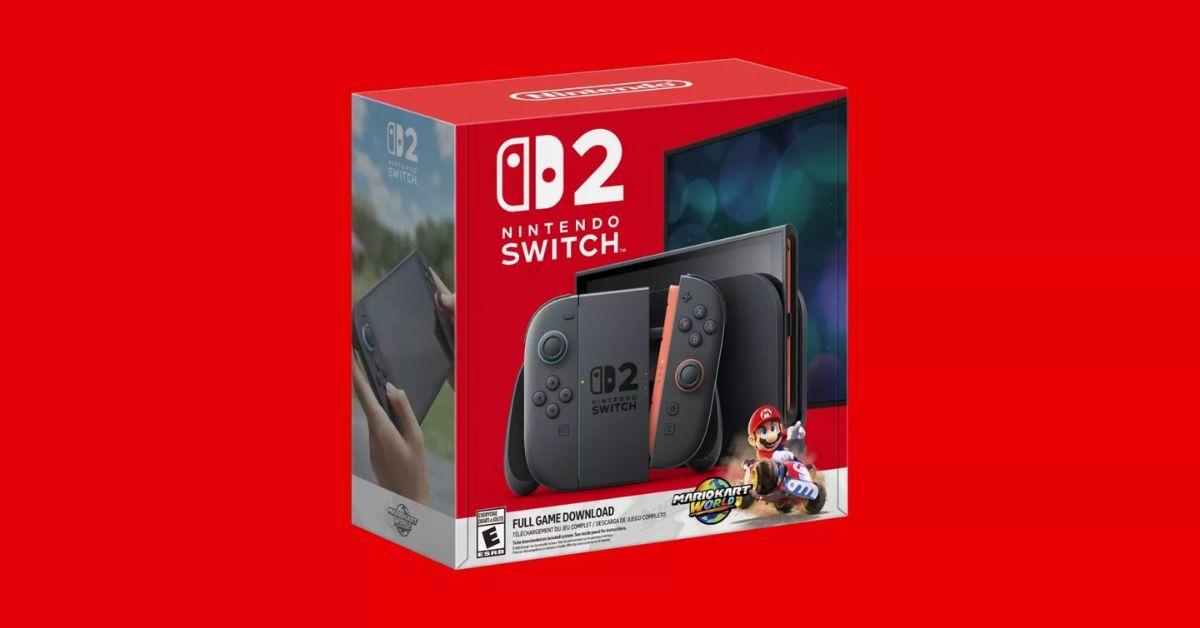
GamingThe Nintendo Switch 2 Has a High Price Point, and Nintendo Thinks People Will PayThe Switch 2 costs considerably more than its predecessor.
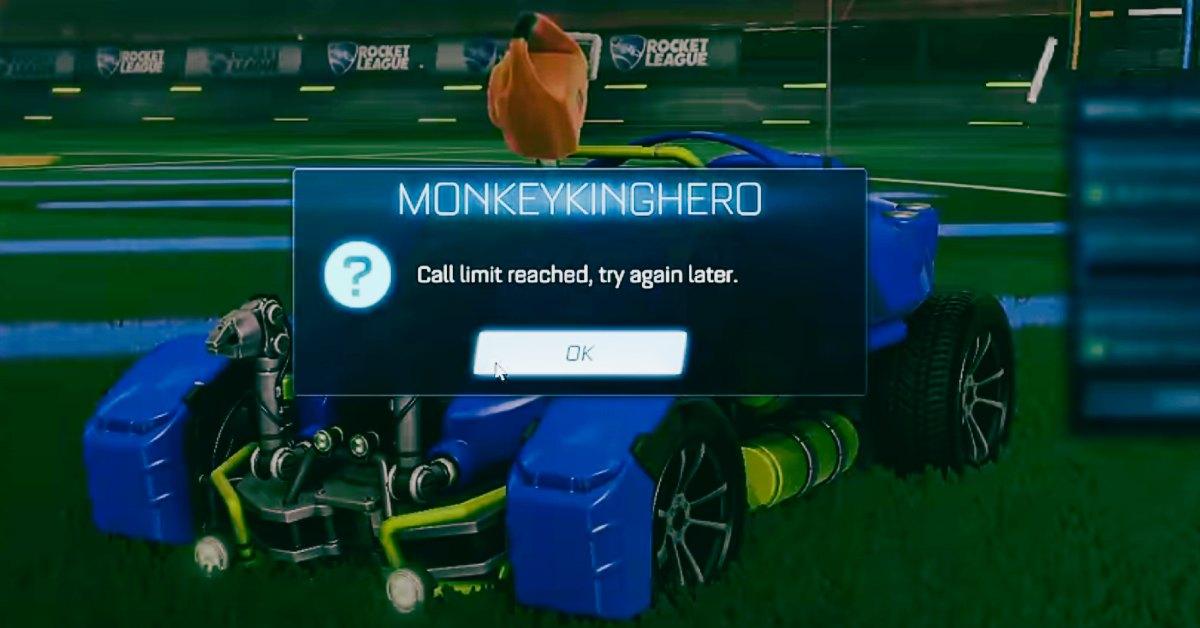
GamingWhat "Call Limit Reached" Means in 'Rocket League' and a Potential Quick Fix"This happening to everyone rn?"
GamingHere's Why Abdulaziz "Hax$" Al-Yami Was Banned From Top Tournaments as a GamerHax$ had a successful, but controversial, career as a gamer.
GamingProfessional 'Smash Bros.' Player Hax$ Is Dead at Just 30, but How Did He Die?Hax$ was banned from the professional Smash circuit in 2021.
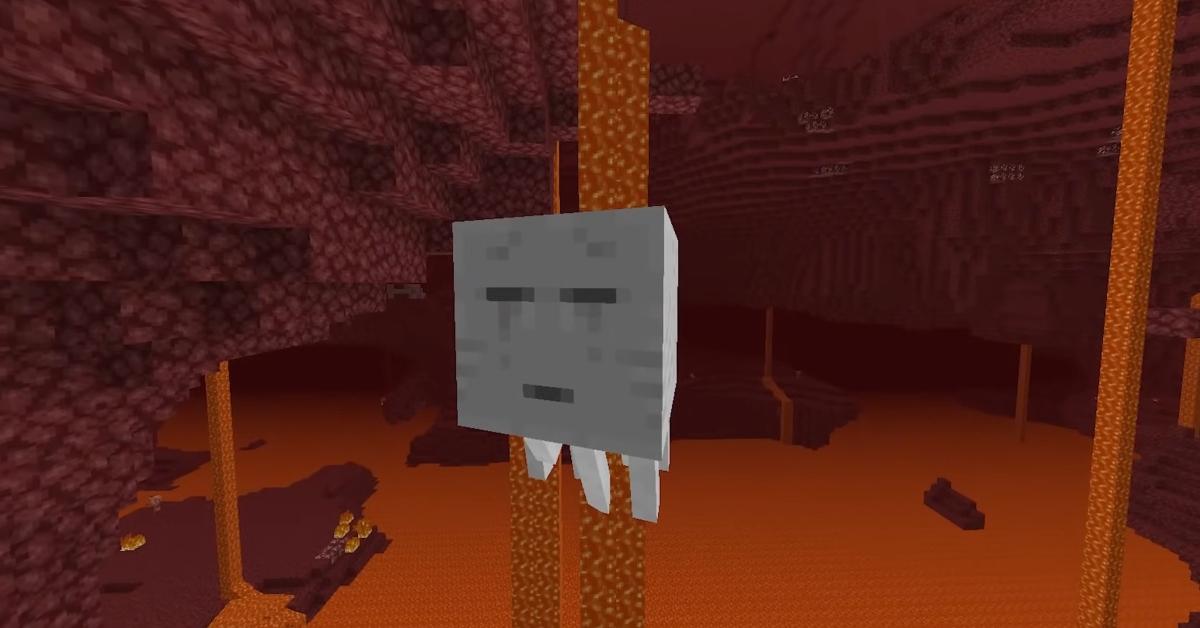
GamingWhy Do Ghasts Cry in 'Minecraft'? Here's the Sad and Disturbing ReasonAre the ghasts just ghosts stuck in a perpetual state of unrest, or are they aquatic creatures trying to survive the air Nether?
GamingWhy Is 'Roblox' Blue? The Play Button Update That Sparked Mass Delusion And GaslightingDid 'Roblox' actually change the color of their logo?
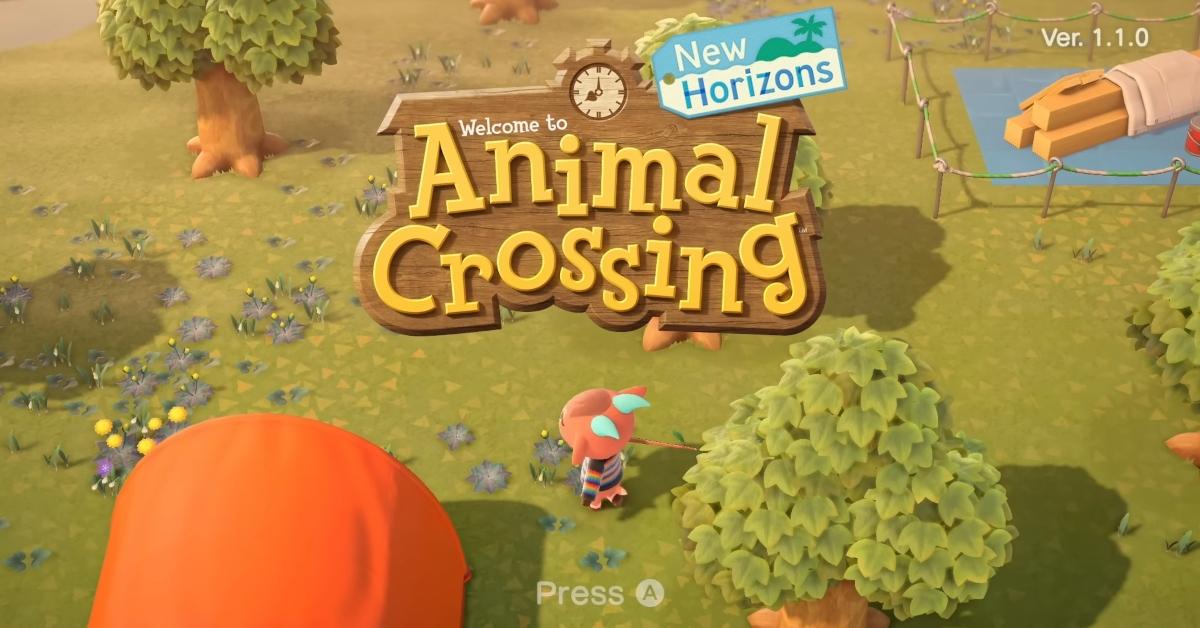
GamingThose Cute 'Animal Crossing' Voices Actually Make Sense When Slowed Down "Ah-n-ih-m-ah-l c-r-o-s-s-ih-n-g."
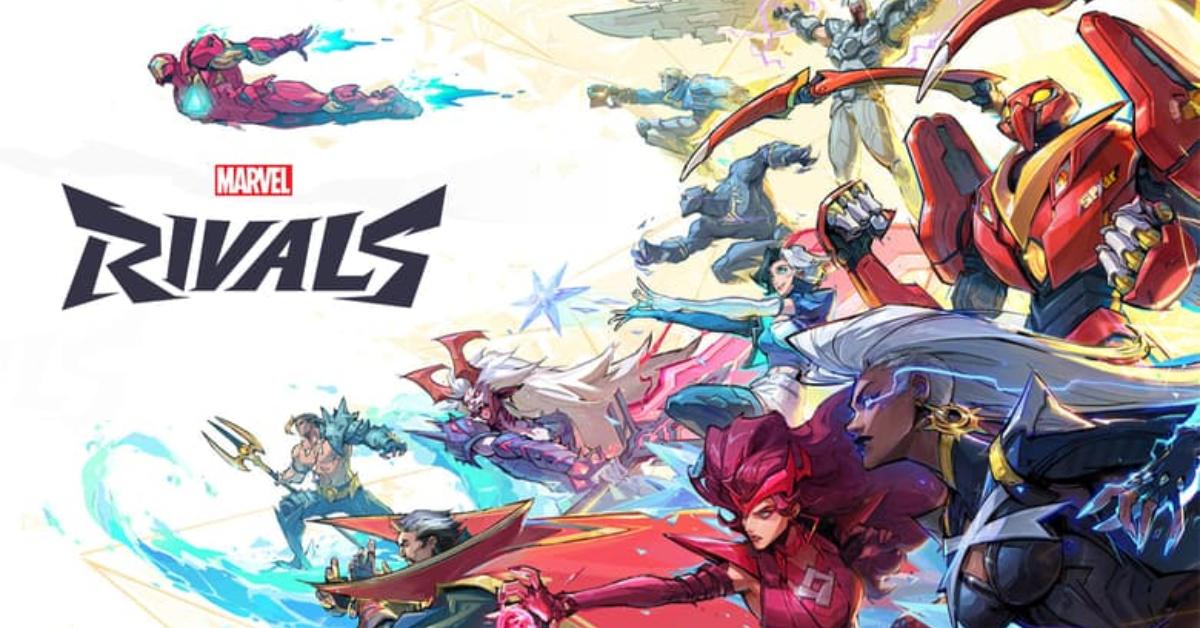
GamingEntire Support Team for 'Marvel Rivals' Game Laid Off Amid RestructuringNetEase has laid off a 'Marvel Rivals' support team.
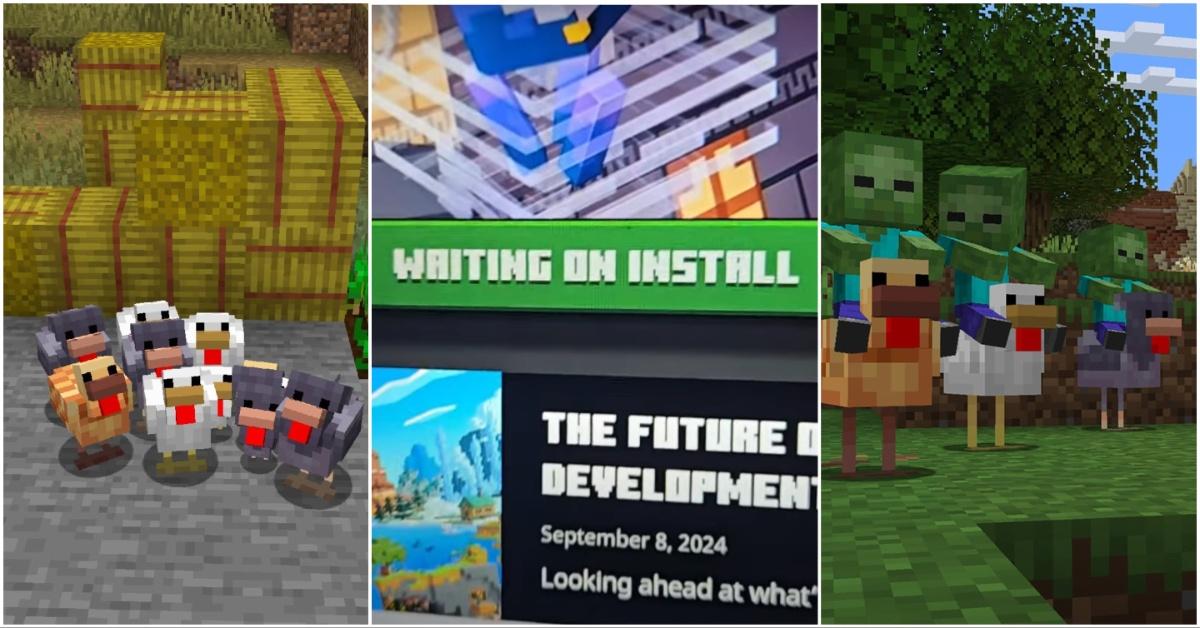
Gaming'Minecraft' Not Installing? Why It Says "Waiting on Install" and What to DoAre you having a hard time getting 'Minecraft' to install so you can start playing it?
EntertainmentWhy Did 'Red vs. Blue' Makers Rooster Teeth Shut Down After 21 Years? Rooster Teeth is under new management, but where did it go in the first place?
InfluencersWhat Happened to Hermitcraft's Iskall85? 'Minecraft' Player Speaks in Wake of Allegations"They ruined my life."
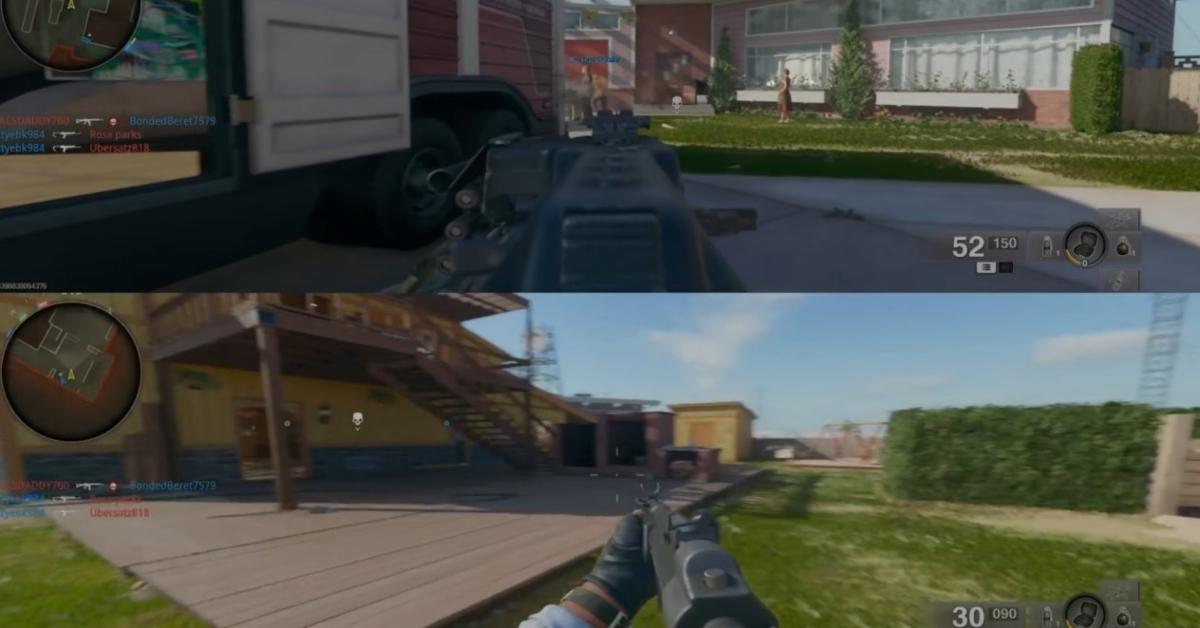
GamingWhy Is the 'Call of Duty: Black Ops 6' Split Screen Not Working? Here's How You Can Fix It "Hopefully they patch this bug soon, it’s annoying."
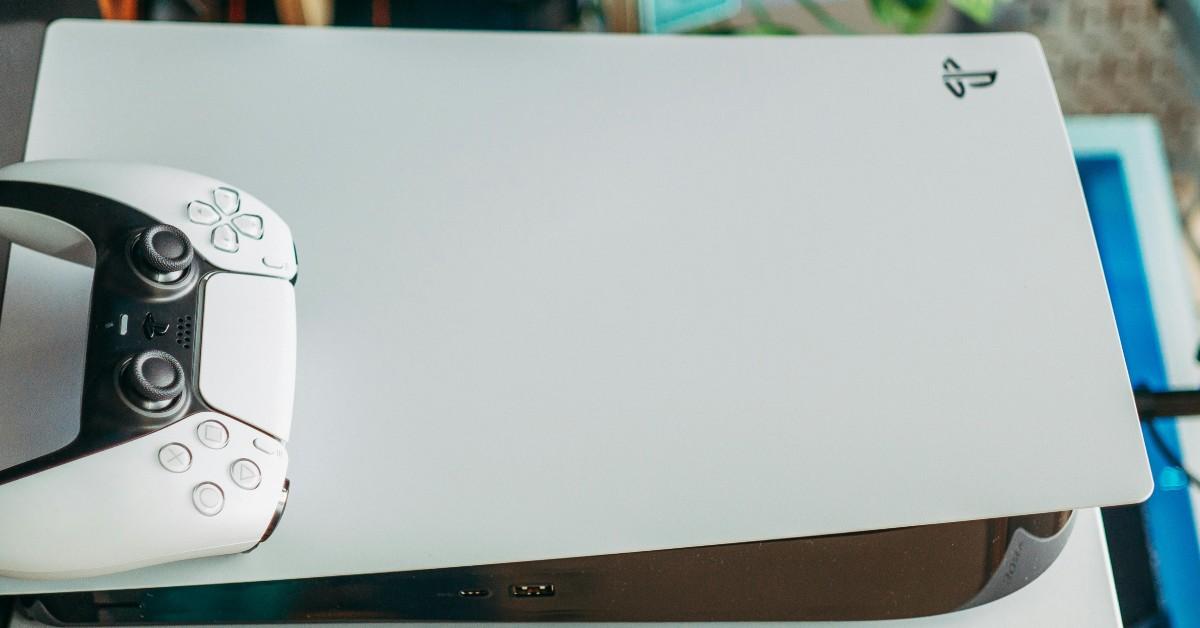
GamingWhy Did My PS5 Turn on by Itself? Reasons, Fixes, and When to Worry About ItYour PS5 can turn on by itself for several different reasons — not all of them are bad.
GamingThe Nintendo Switch 2 Is Almost Here! When Is It Coming out and What's New?Prepare to unlock a new level of gaming with the Nintendo Switch 2!
GamingElon Musk Is Being Accused of Cheating in Video Games After 'Diablo' "Top Player" Brag"His entire life is pay to play."
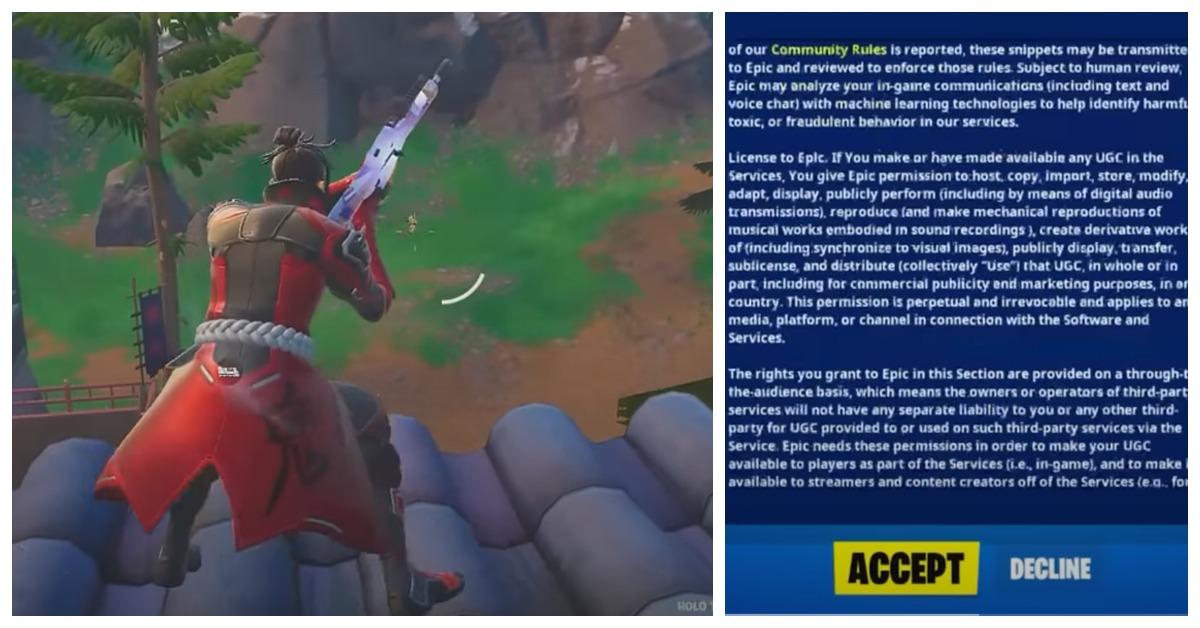
GamingWhat Does the Term EULA Mean in 'Fortnite'? This Oft-Overlooked Info is ImportantIf you don't read the EULA, you might not even know what rights you're surrendering.
InfluencersWhat Happened to Ranboo? How the Streamer Found a New Path Beyond 'Minecraft'“They rebranded and became more of a Vtuber as well! He seems a lot happier.”
GamingJake Future Was Born With His Condition, but Faked Footage of Him Is Confusing SomeThe streamer hosted a toy drive, and almost none of the people he invited showed up.
GamingWhy Is Blox Fruits Set to Private? Players Are Locked out of the Game Following Dragon Update"This might go down as the worst [Roblox] update of all time."
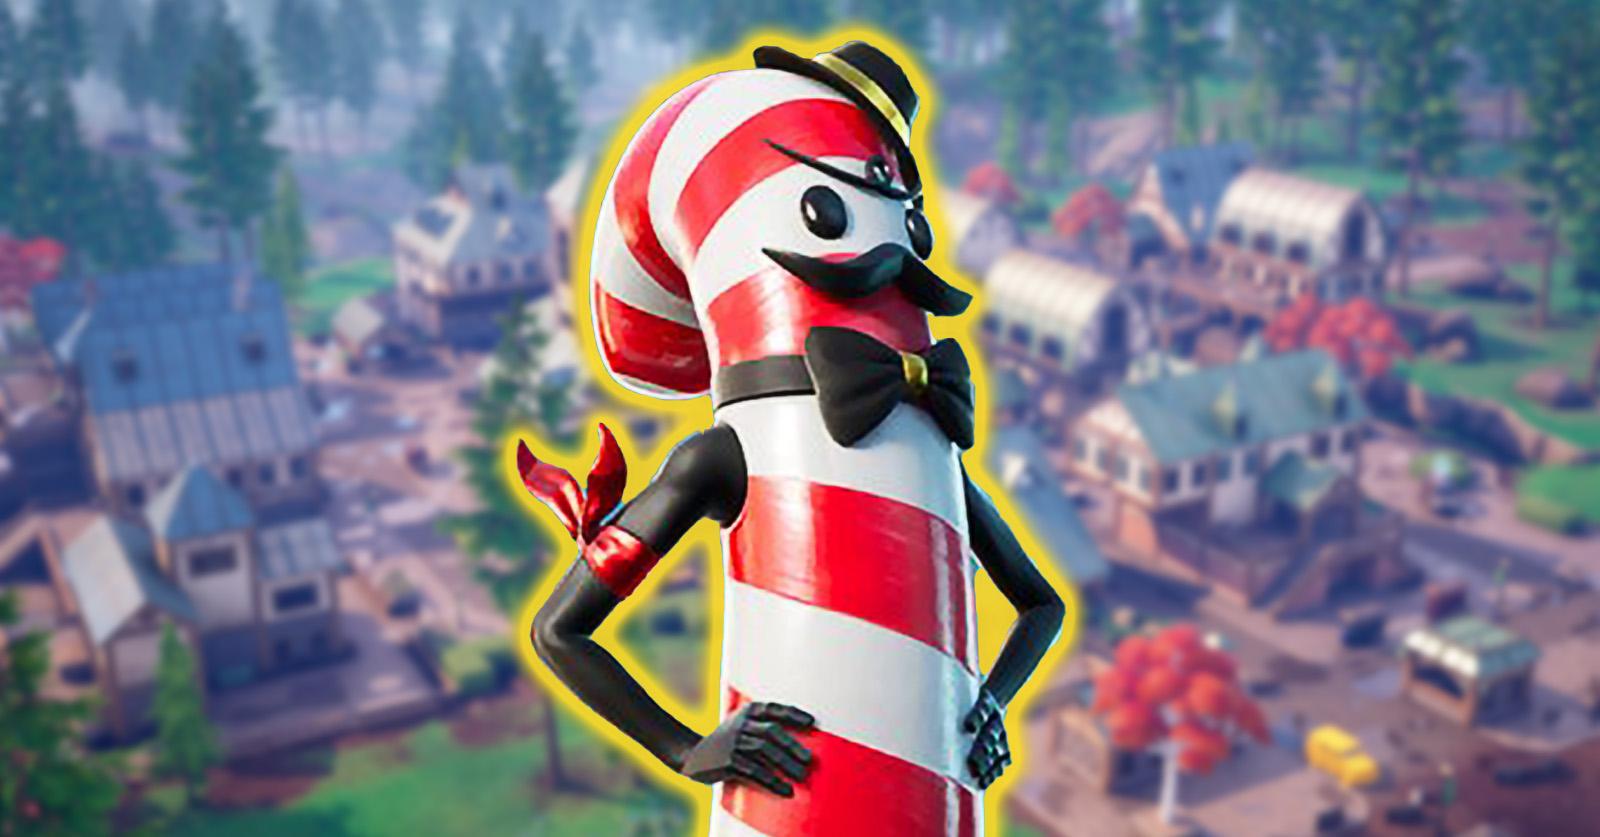
GamingMr. Dappermint Is a Free 'Fortnite' Skin to Get You Into the Holiday SpiritWondering how it ended up in your library?
GamingHere's How to Access Your 2024 Twitch Recap — Who Was Your Top Streamer?It's that time of year again!
GamingWhen Will the FTC 'Fornite' Refund Happen? Epic Games "Wrongly" Charged Customers"Easiest $250 of my life!"
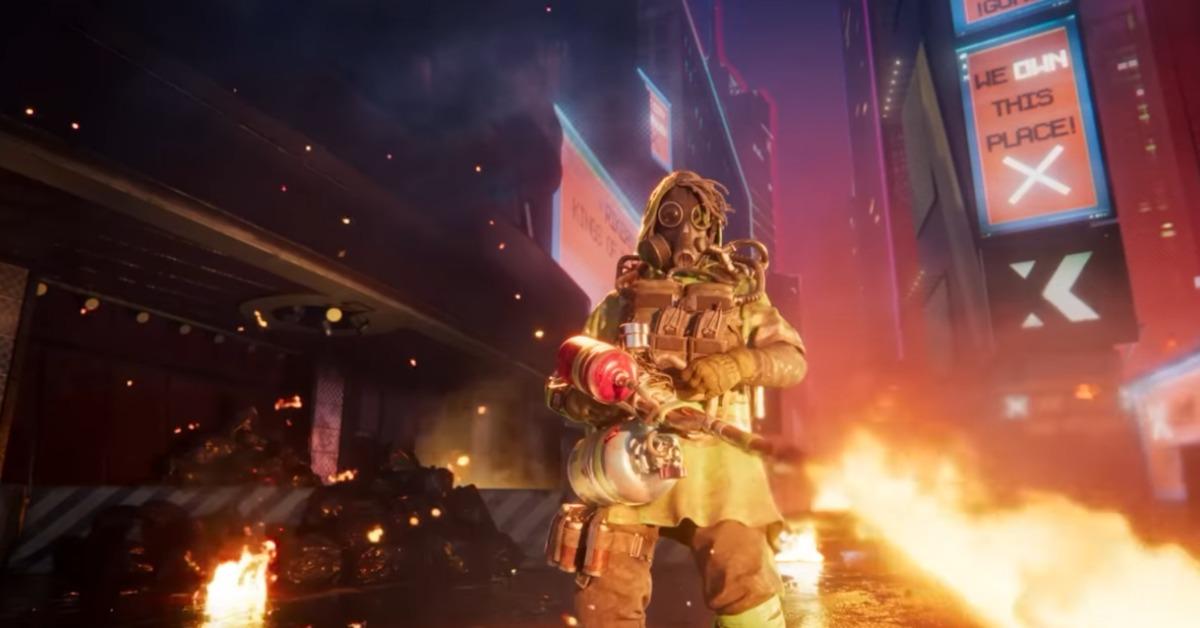
GamingWhy is Ubisoft Planning to Shut Down Free-to-Play Game 'XDefiant' Shortly After Launch?Plans to shut down 'XDefiant' has fans worried about the real world money they've put into the game.
Gaming'Fortnite's' "Ready Up" Button Has Been "Temporarily Disabled" by Epic Games"It will return in a future update."
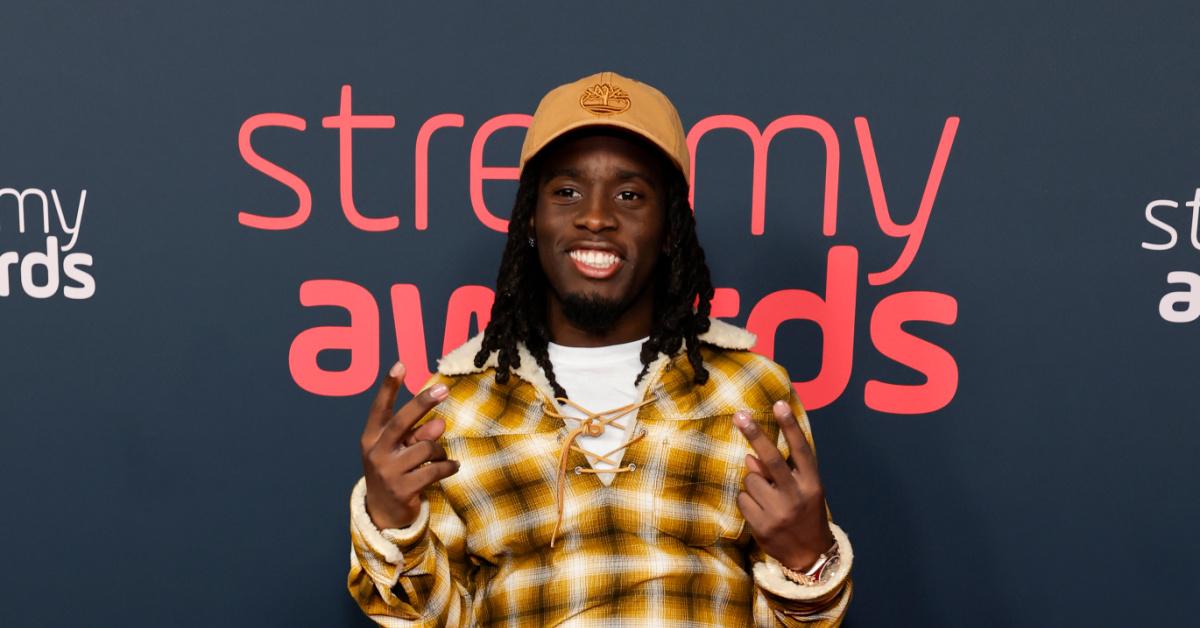
InfluencersBacklash Grows Over Hanging Prank During Kai Cenat's Live Twitch SubathonFans scramble as they try to decide whether any of the blame should be placed on Kai following the incident during his subathon.
Gaming'League of Legends' World Champion Zeus Left T1 Over a Contract DisputeZeus left T1 over disputes about the length of his next contract.
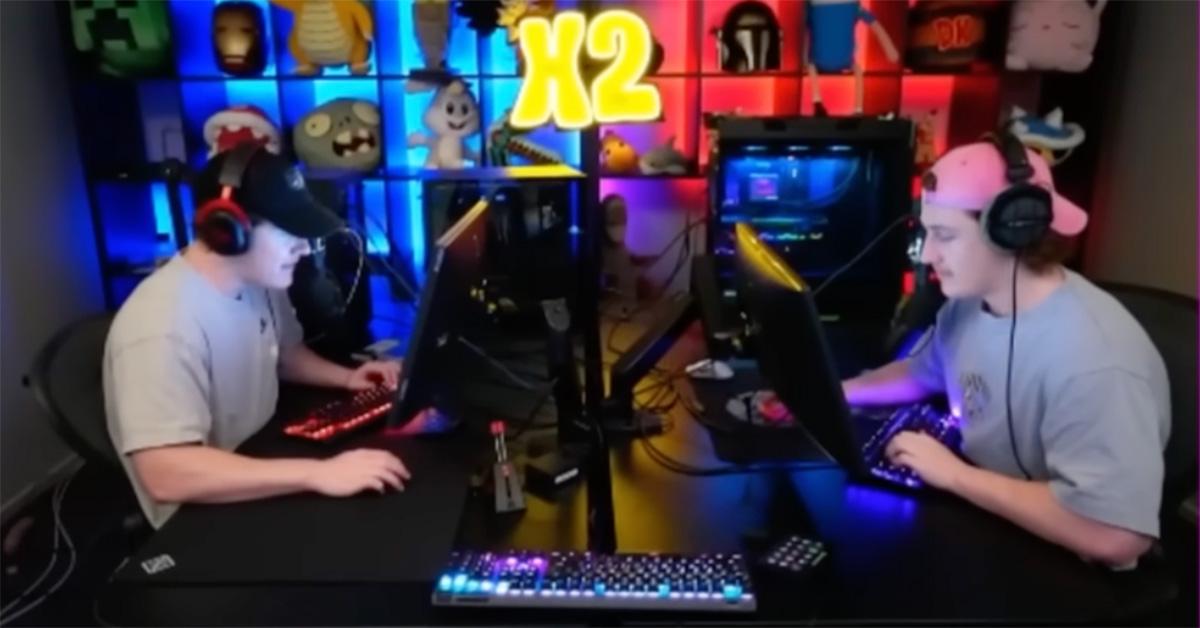
GamingRumors Are Swirling About the Death of the X2 Twins, but Are those Rumors True?The streamers are alive and well, but there are rumors swirling that they died.
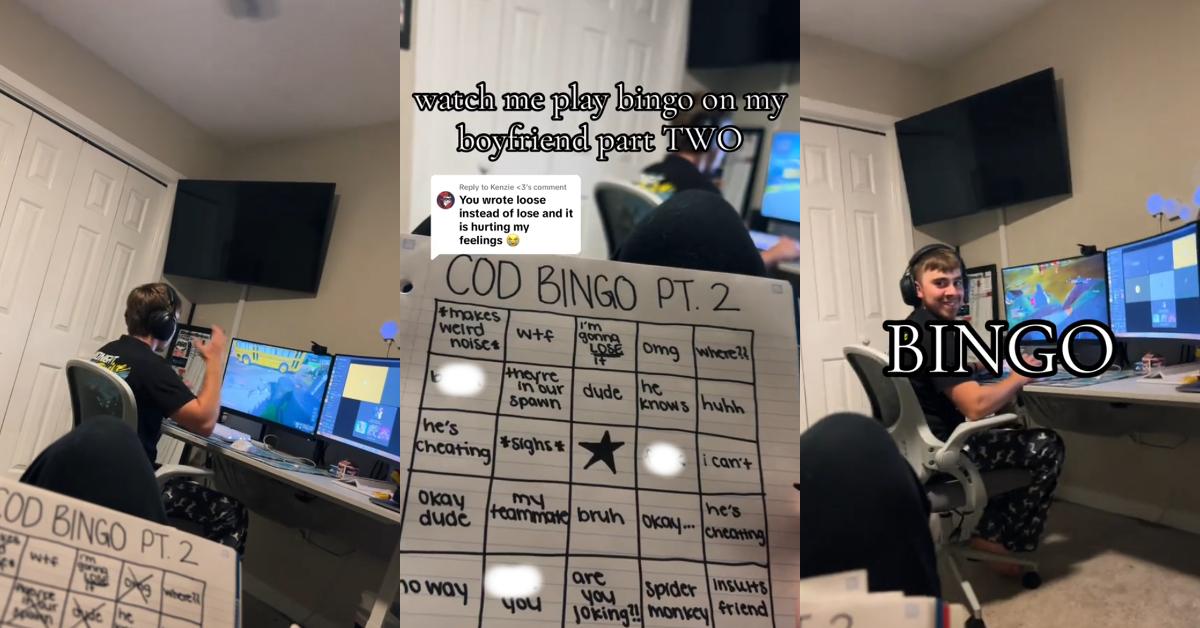
TrendingWoman Plays ‘Call of Duty’ Bingo While Boyfriend Games, Turns It Into TikTok Series"Does he know what you’re up to?"
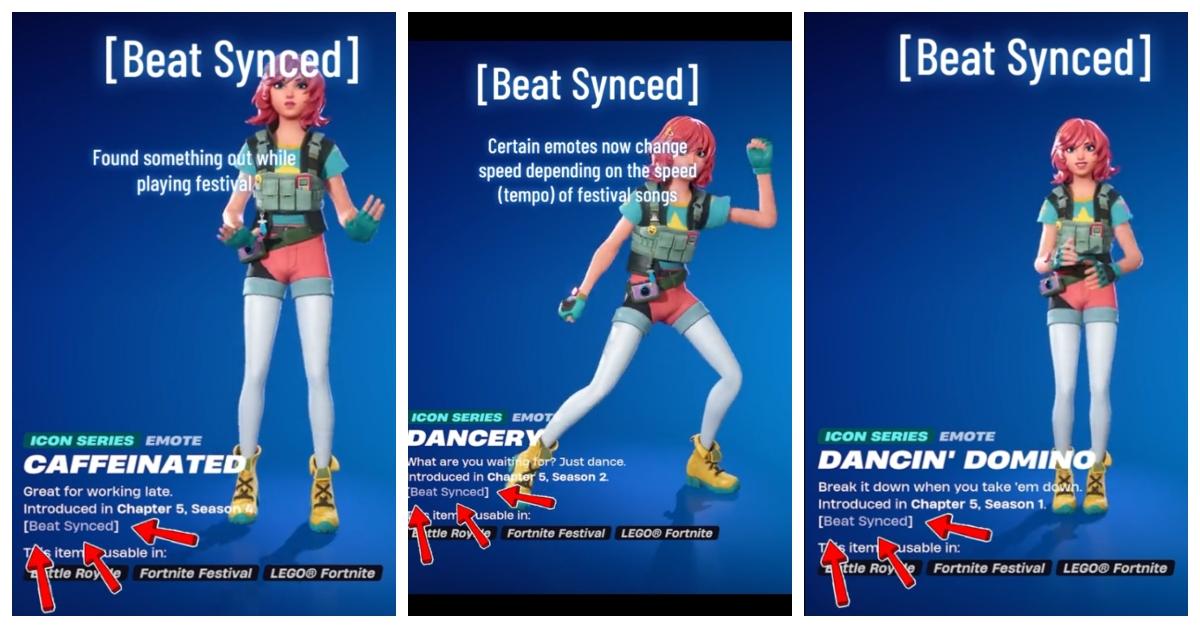
GamingWhat Does It Mean to Be "Beat-Synced" in 'Fortnite'? New Dance Feature Surprises PlayersWhen you use certain dance emotes, they will "beat sync" with the music being played during jam loops and festivals.
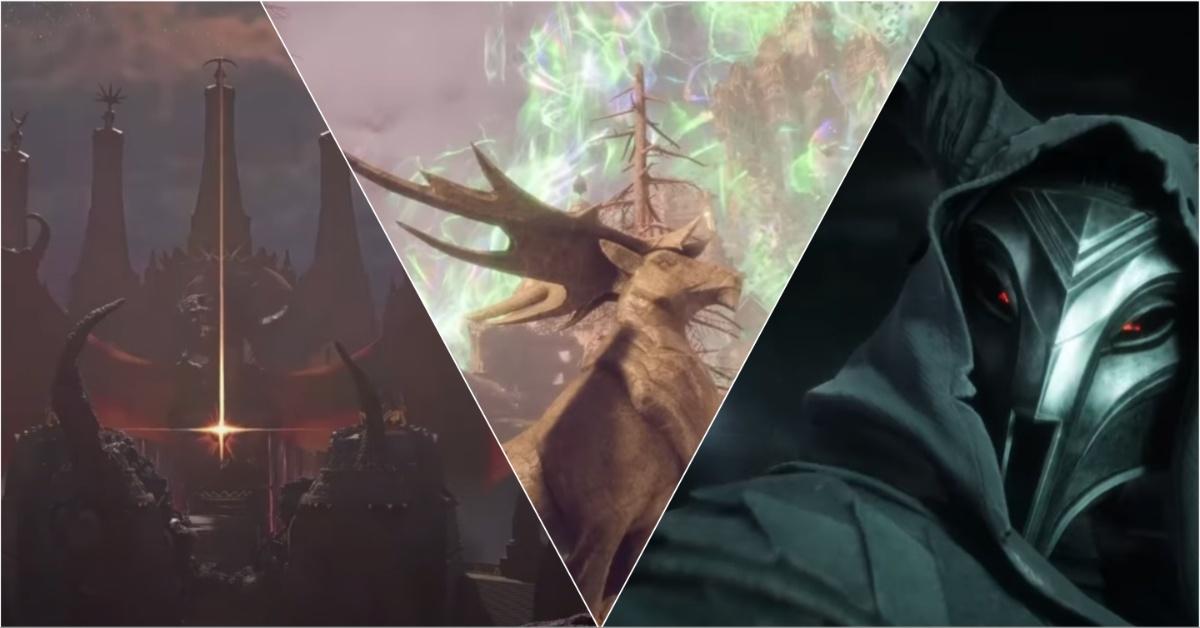
Gaming'Dragon Age: The Veilguard' Controversy Explained: Why Fans Are Divided Over Changes"This is fueling conspiracy that EA deliberately selected positive mouthpieces." One frustrated gamer vented on Reddit.
GamingWhy Does 'Fortnite' Say "Waiting in Queue"? If You're Dealing With This Issue, You're Not AloneIs there anything you can do to fix it?
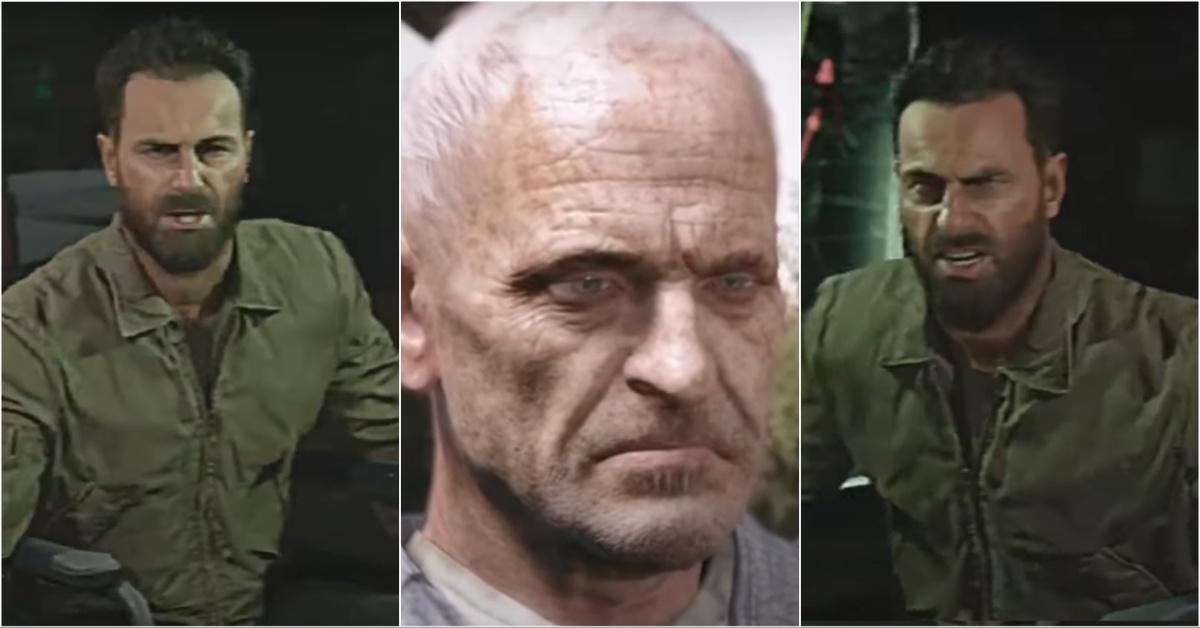
GamingWhy Is Woods in a Wheelchair in 'Black Ops 6'? Uncover the Storyline Twist"We got intel there might be key information here to finally reveal that mole we’ve been hunting," Master Sergeant Frank Woods orders the players.
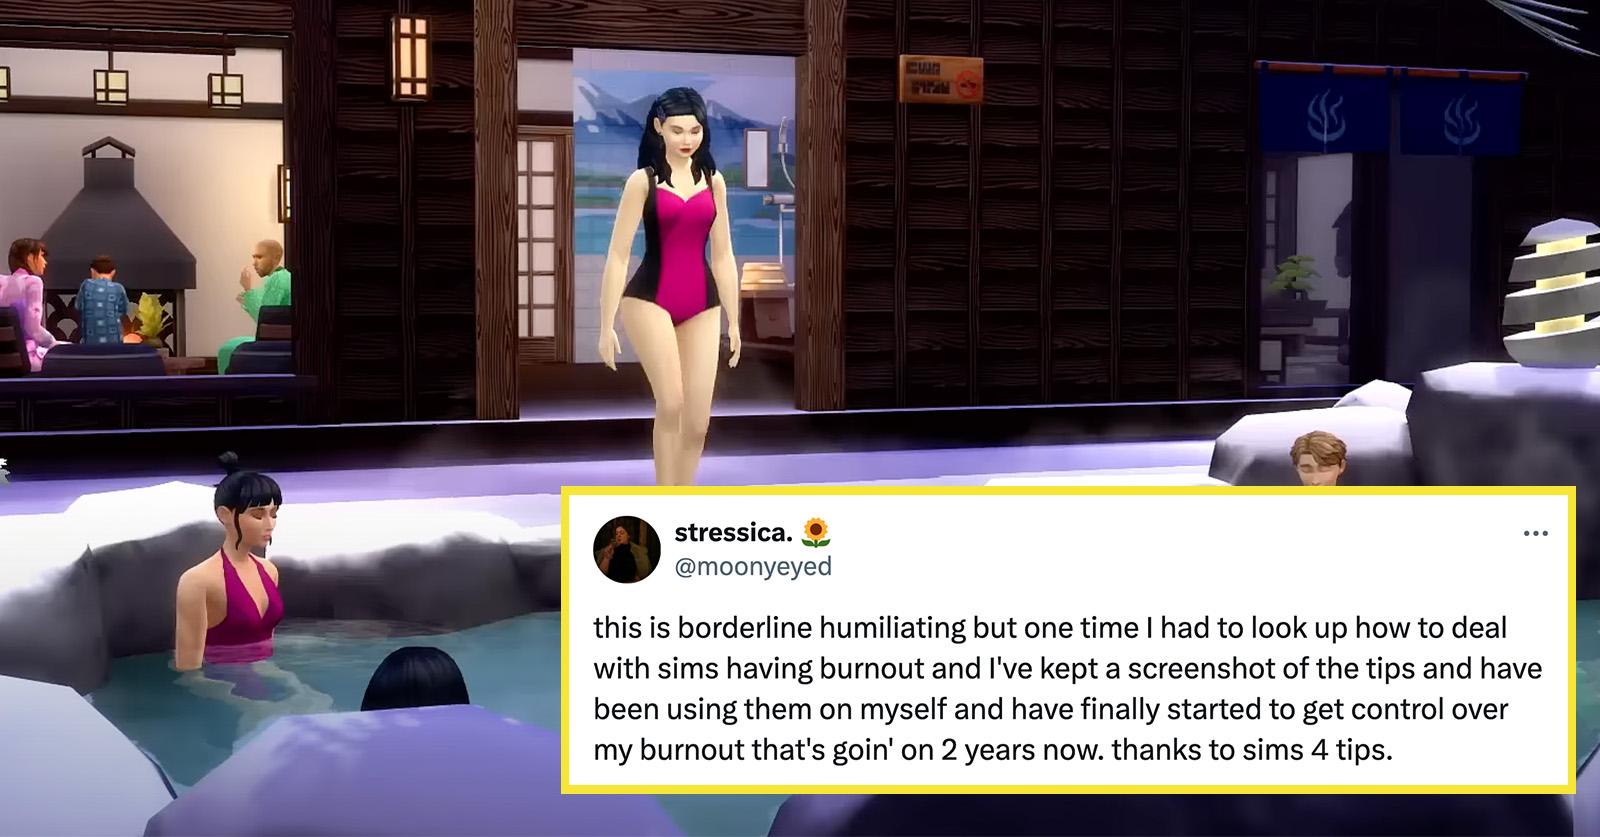
TrendingGamer Discovers 'Sims 4' Tips for Helping Sims Get Through Burnout Actually Work on Humans, Too"Sims experiencing mental burnout need to find creative outlets."
GamingPopular Twitch Streamer Asmongold Was Banned After a Racist Rant About PalestiniansThe Twitch streamer suggested that Palestinians in Gaza might have deserved to be killed.
GamingWhy Does 'Roblox' Keep Saying "Connection Error"? If You're Having This Issue, You're Not AloneThe error is keeping fans from playing their favorite games.